How to create presets?
A step-by-step tutorial on how to create and load presets on Snapit. This will save you a lot of time editting your images.
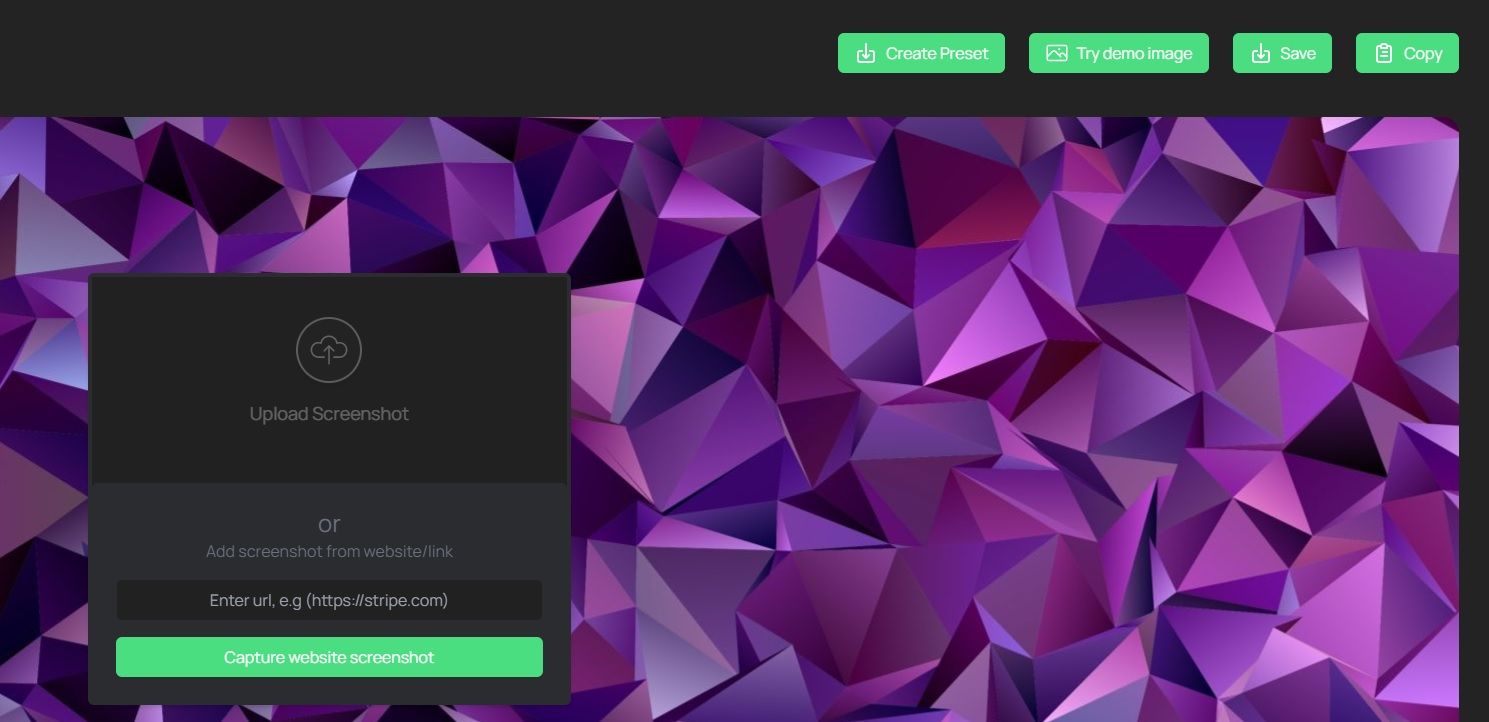
So you took the effort to select the ideal size for your image, pick a suitable browser frame, a beautiful background and added watermarks. Well done! But if you want to edit multiple screenshots in the same way, it can save a lot of time to be able to save your presets. Fortunately you can do this with Screenshots4all.
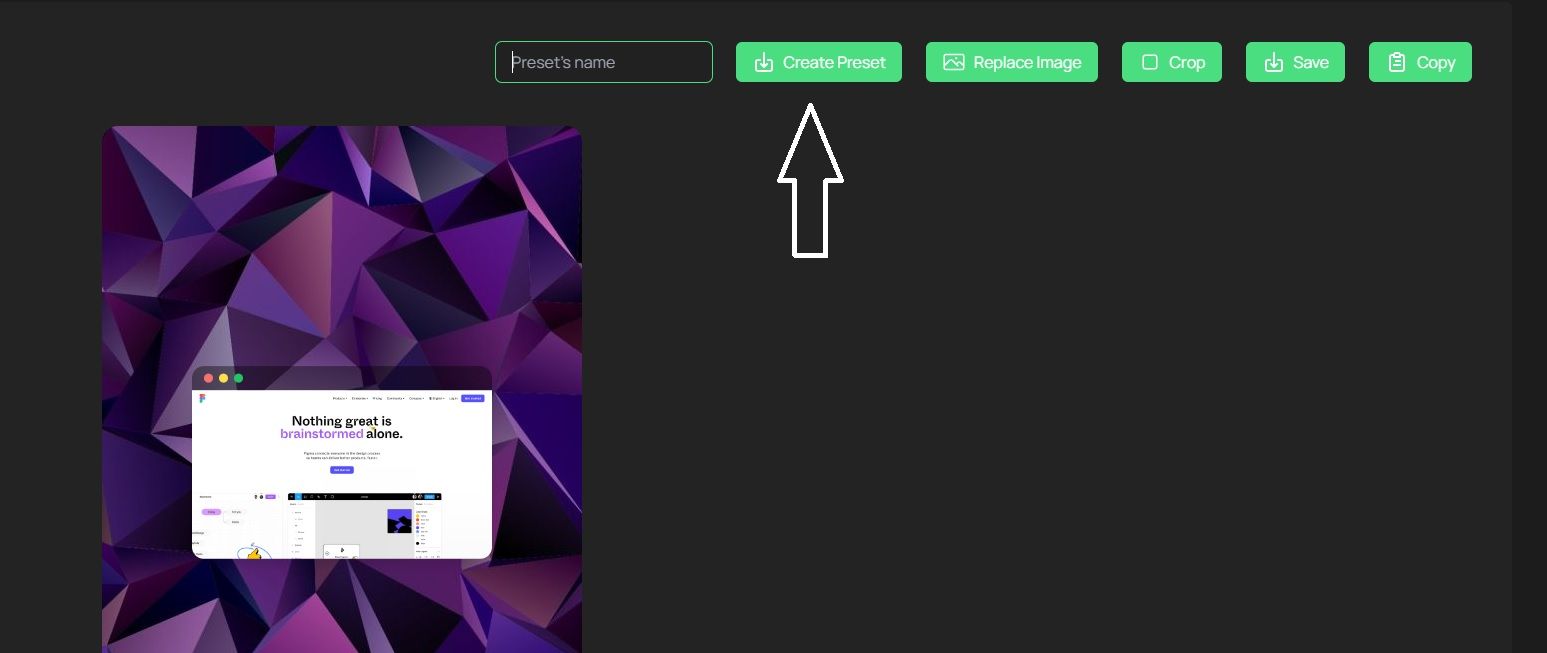
To do this, you start by editting your image with the presets of your liking. When you are ready, just click on the 'Create Preset' button and enter the a name for your preset. Finish by clicking on 'Create Preset' a second time. Your preset is now saved.
The next time you want to edit an image using the previously saved preset, click on 'Presets' on the left side of the preset menu. This will show all the presets that you have saved. Now you click on the preset that you want to load and immediately you will see that the options that match the preset are loaded. Pretty easy, right?
You can create as many presets as you want, and delete them if you don't need them anymore. Good luck!
